

Next to the title, your photos are the most important factor that determines whether your eBay item sells or not.
Especially when selling used items… people want to see exactly what they’re getting.
But here’s the good news — you don’t need a professional camera, box lighting setup, mannequins, backdrops, or any of the bullshit you see on YouTube.
Your goal is simple: Make your photos honest, clean, and easy to evaluate.
Here’s how to do exactly that.
1. Use a Plain, Non-Busy Background
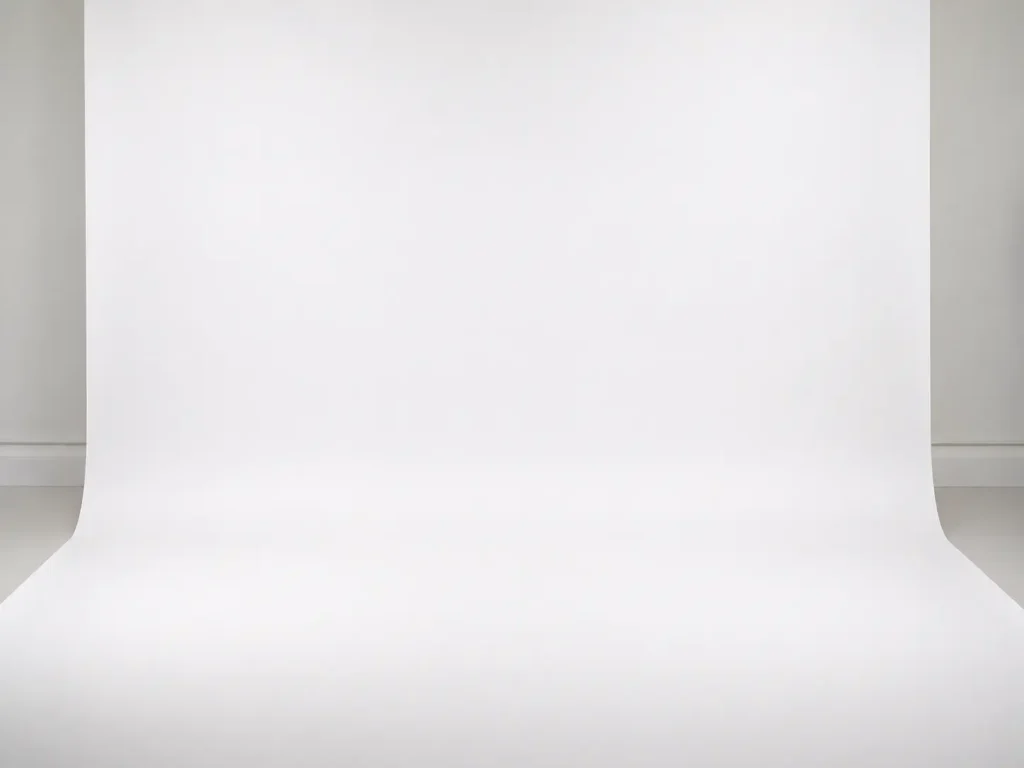
Your item should be the only star of the photo.
A messy table, patterned bedspread, cluttered kitchen, carpet with stains, or anything “visually noisy” instantly ruins the first impression.
Use something like:
- A blank wall
- A clean white poster board from Walmart
- A simple desk surface
- A solid color bedsheet (iron it flat if needed)
- Plain flooring (tile, wood, linoleum)
The more neutral the background, the more premium your listing looks.
2. Use Natural Lighting Whenever Possible
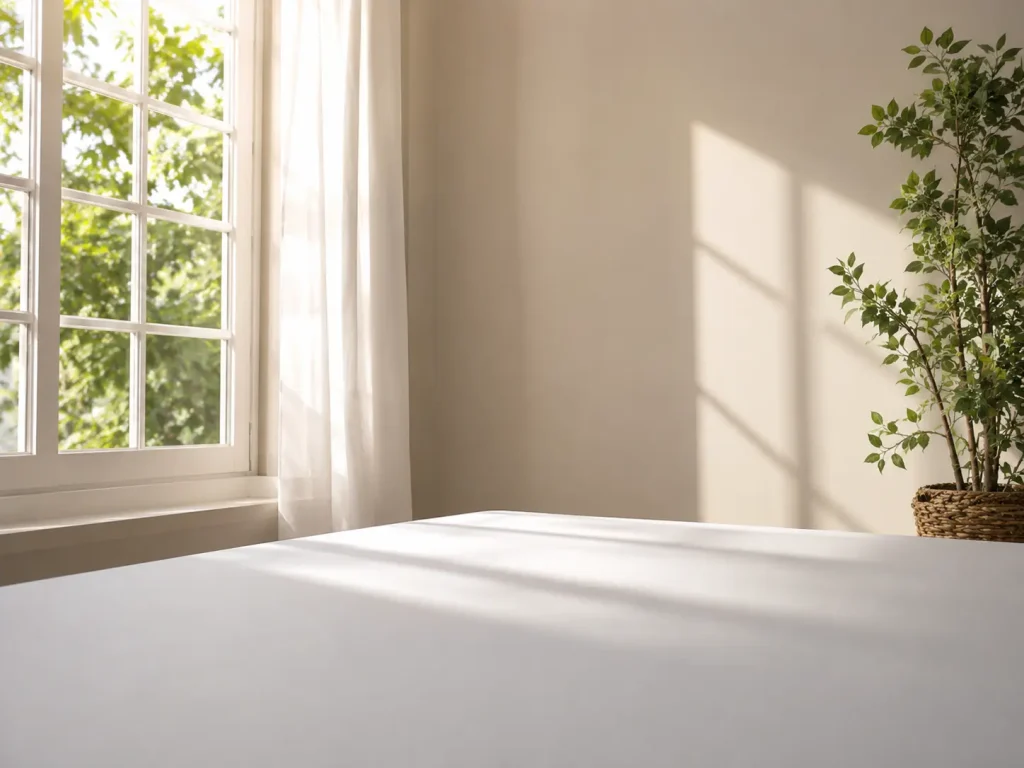
Lighting is everything. You don’t need ring lights — just use sunlight.
- Take photos near a window during the day.
- Turn off all yellow indoor lights — they make everything look dull and dirty.
- If shadows are harsh, back up a bit and zoom in slightly.
Natural light makes your items look crisp, clean, and accurate.
If you live somewhere that has poor natural lightning opportunities, you may purchase a ring light like this one off of Amazon – Affordable ring light.
3. Never Use Flash
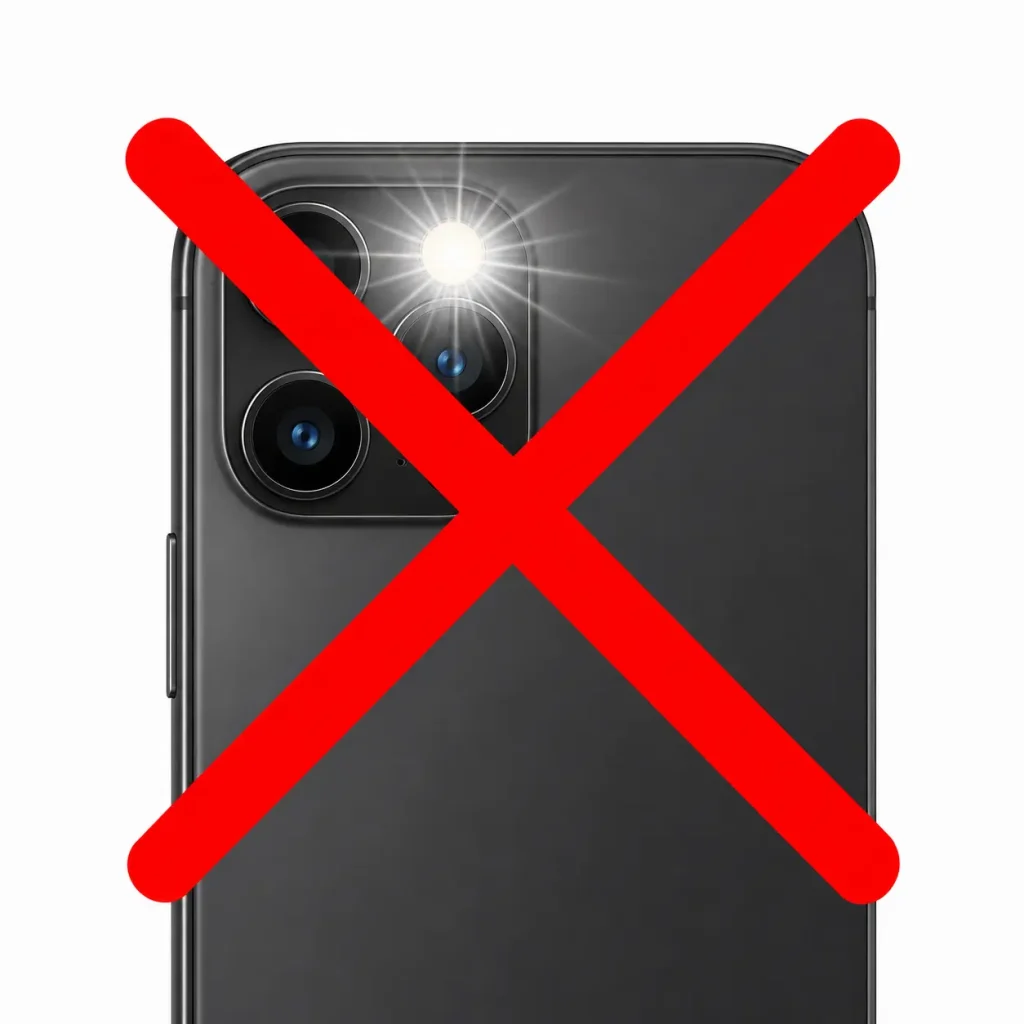
Flash makes surfaces shiny, distorts colors, and screams “cheap amateur listing.”
If the lighting is bad, don’t force it. Take pictures:
- In another room
- Near another window
- During daytime instead of night
Good lighting > everything else.
4. Take Multiple Photos — At Least 4–10 Per Item

Buyers want to see the whole item, not just one angle.
Take:
- Front
- Back
- Both sides
- Top and bottom if needed
- Close-ups of labels/logos
- Serial numbers or model numbers (this builds trust)
- Close-ups of any flaws
Showing imperfections actually helps the sale — it proves you’re honest.
5. Prep the Item Before Photographing
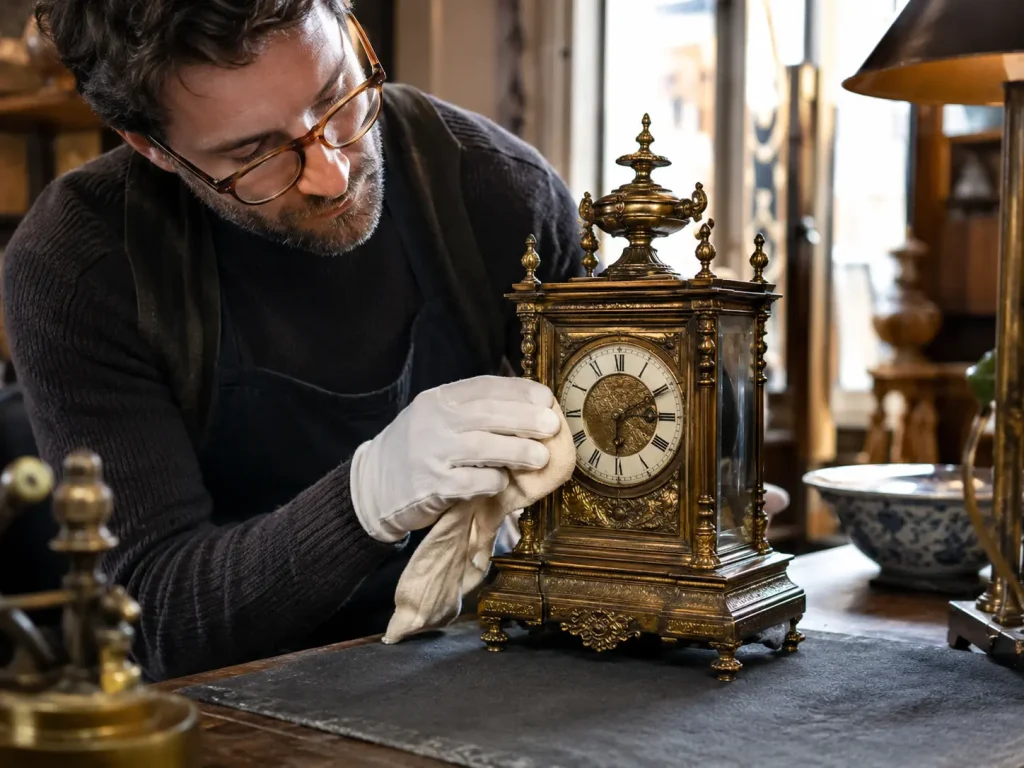
Small effort = big difference in perceived value.
- Lint roll clothing
- Wipe dust off electronics
- Clean soles of shoes
- Smooth out wrinkles
- Remove fingerprints
Even used items can look clean, intentional, and valuable when prepared.
6. Fill the Frame

Don’t take photos where your item is a tiny speck in the middle of the shot. Zoom in slightly and make sure the item takes up most of the frame.
This makes your listing feel:
- Clear
- Professional
- Confident
People don’t just buy items, they buy presentation.
7. Show Scale When Needed

If size matters (purses, bags, collectibles), include something for scale:
- A tape measure
- Ruler
- Your hand next to the item
- Or literally take a photo with the measuring tape in the shot
This prevents size-related returns.
8. Shoot Your Photos in Landscape (Not Portrait)
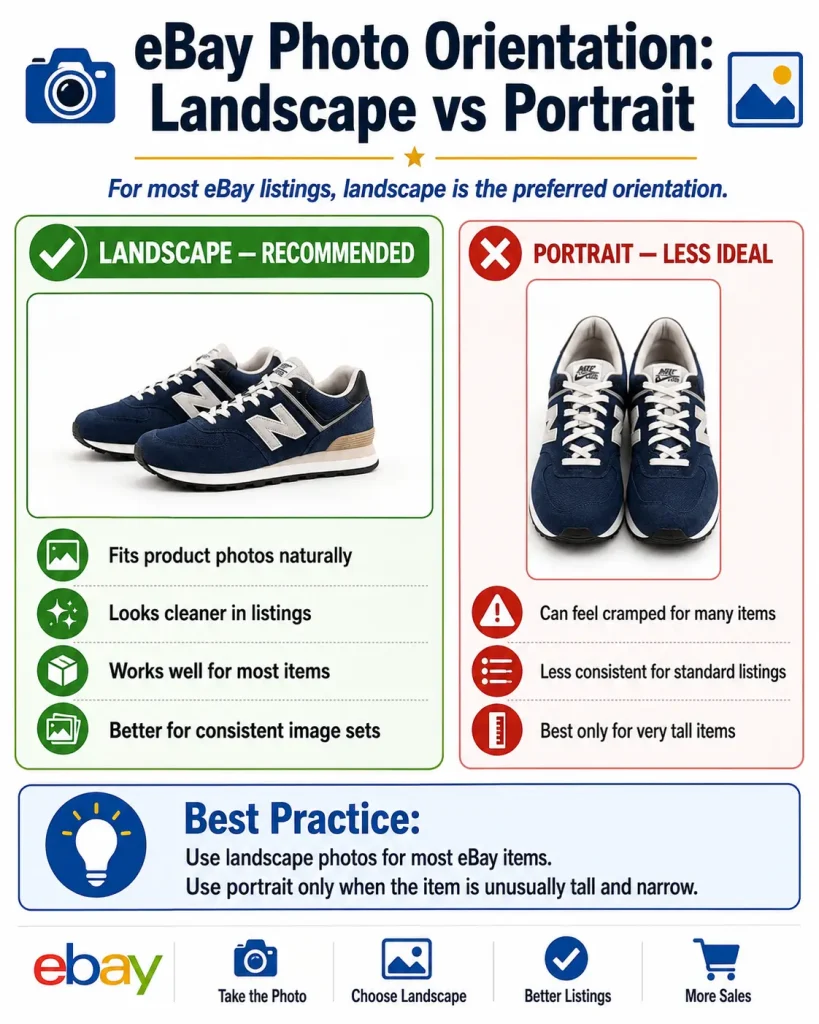
eBay displays your listing photos in a landscape-oriented thumbnail in search results. If your photos are taken in portrait mode, eBay will often crop the top and bottom, making your item look smaller, off-center, or just plain awkward.
So:
- Take your photos in landscape
- Fill the frame with the item
- Leave just a little space around the edges
This makes your listing stand out and look intentional instead of sloppy.
Exception:
If you’re selling something tall (like boots, a bottle, or a statue), portrait is fine — just preview the thumbnail after uploading to make sure it’s not cutting off the item.
Quick rule:
If the item is wider than it is tall, go landscape.
If it’s taller than it is wide, go portrait, but check the crop.
Example eBay Photo Checklist
Before you upload photos, ask yourself:
- Is the background clean and simple?
- Is the lighting natural?
- Did I avoid flash?
- Did I show all angles?
- Did I show flaws honestly?
- Did I include any labels or identifying marks?
If yes, you’re good.
Pro Tip (Save Time)
Taking photos is the most time-consuming part of selling on eBay. Honestly, it’s my least favorite part.
But here’s how to make it faster:
Download the eBay mobile app on your phone and take your listing photos right inside the app while you’re creating the listing. Your photos will upload instantly and be locked into the draft as you go.
No more taking pictures, backing out, transferring them, and uploading later.
Just shoot → list → move on.
Do the entire listing in one shot and be done.
Time is money!
Final Thoughts
The goal isn’t to look perfect — the goal is to look honest and intentional.
Clean background. Natural light. Multiple angles. No flash.
That alone puts you ahead of 90% of eBay sellers who take dark photos on their carpet at midnight with the flash on.
This is how you make buyers click, trust you, and purchase without hesitation.